- glass fusing
- fusing project guides
- thanksgiving fused glass napkin ring


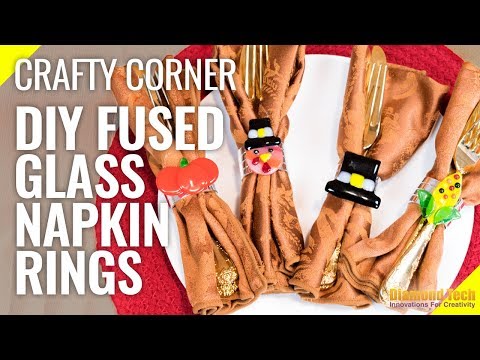
Thanksgiving Fused Glass Napkin Ring
Features
Fuseworks Microwave Kiln
Jennifer Mosaics Wheeled Glass Nippers
Studio Pro Pistol Grip Glass Cutter
Fuseworks Hot Mitts
Fuseworks Variety Colors 90 Coe Fusible Glass Sheets
Fuseworks Kiln Paper
Fuseworks Multi Color Stringer 90 Coe
Description
- Keep your work area clean of glass pieces. Keep a handheld vacuum or broom brush handy to clear area of glass shards.
- Have a heat resistant pad or surface to place microwave kiln on top to prevent burning and ruining countertops.
- Keep a designated microwave solely for the kiln. DO NOT REUSE TO HEAT UP FOOD.
- Always wear your heat resistant Mitts when handling the microwave kiln.
- Adult Supervision is required.
- Glass may be sharp – please use caution while handling.
- Wear your safety goggles and latex gloves when handling glass
1. Cut out pattern piece of your choosing from the templates below. Place them onto the designated sheet glass and trace around the pattern with a permanent marker. Use a glass cutter to cut out the pattern from the glass. Don’t forget to wear your protective eye wear and latex gloves.
2. Use your wheeled glass nipper to cut down corners and sharp edges.
3. Remove permanent marker with acetone and paper towels. Also works great to clean glass before firing.
4. If you would like to make kernels for your corn, cut small pieces of glass stringers and fuse in microwave kiln for 3 min at 70%Power (follow step 5 & 8 before microwaving)
5. Next, cut a 2” X 2” piece of kiln paper. Remove the lid from the Fuseworks Kiln. Place the kiln paper on the kiln base.
6. Start assembling your glass pieces on the kiln paper. Use the photo of your choice napkin ring to position remaining glass properly on kiln paper. You can use tweezers for easy assembling.
7. Use a dot of craft glue on the back of each piece to hold in place during firing. Allow glue to dry before firing.
8. Carefully set the base with glass inside the microwave. Cover base and glass with kiln lid.
9. Fuse for 2 minutes and 30seconds at 70% power followed. PLEASE NOTE: All microwave and kiln combinations will have different firing patterns. Be sure to take careful notes and log all fusing times for future use.
10. After the initial heating, open microwave and, using Hot Mitts, carefully lift the lid enough to inspect the fusing process. Add additional time in 30 second increments until desired results are achieved. Remove kiln from microwave using the Hot Mitts and place on a heat resistant surface. Cool the kiln for at least 30 minutes with the lid on. Removing the lid or peeking under the lid during the cooling will result in your piece cracking. Glass remains hot for a long time and should be handled with great caution.
10. When cool, glue a napkin ring to the back of the piece using a glass adhesive such as E6000. Allow to dry per glue manufacturer’s directions.
All Done
Now you have a beautiful talking piece for your Thanksgiving dinner. Perfect touch of personality to add to your table setting. Use the skills you learned to make napkin rings for all occasions and seasons. The possibilities are endless. Enjoy!
Specifications
• Fuseworks Microwave Kiln
• Fuseworks Hot Mitts
• Fuseworks Kiln Paper
• Fuseworks Variety Colors 90 Coe Fusible Glass Sheets
• Fuseworks Multi Color Stringer 90 Coe
• Fuseworks 90 Coe Variety Colors 1" Fusible Rounds
• Napkin Ring of your choice
• Craft Glue
• Jennifer Mosaics Wheeled Glass Nippers
• Studio Pro Pistol Grip Glass Cutter
• Studio Pro 1" Running Pliers
• E6000 Glue
• Latex Free Gloves
• Safety Goggles
• Acetone
• Tweezers
• Paper Towels
• Black Permanent Marker

